After you have downloaded and activated the BackWPup plugin you will see a menu item called “BackWPup” in your dashboard menu.
Choose “Add New Job” which is one of the sub-menu items under “BackWPup”.
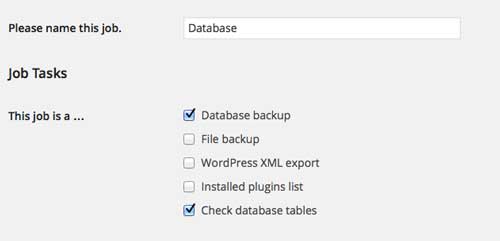
The first thing we are going to do is schedule a backup of the database. So name the Job “Database”.
Then check “Database Backup” and “Check Database Tables”
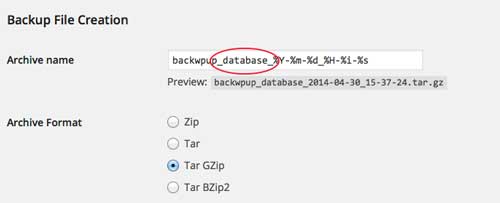
The plugin will create a default archive name in the “Archive Name” field. All you need to change are the generated numbers after “backwpup_” to say database. You can see my example here:
The Archive Format should be Tar GZip.
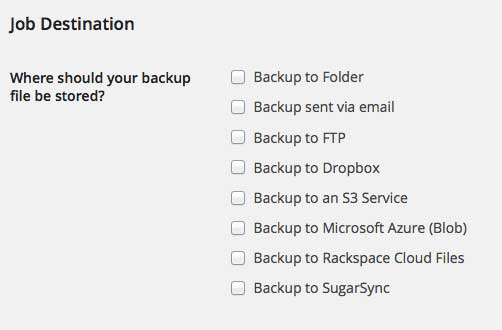
The options for where your backups are going to be stored are listed under “Job Destination.” I use backup to folder, which places the backup in a folder on your hosting server. I also choose to backup via email and to DropBox because this means my backup is in three places, just in case.
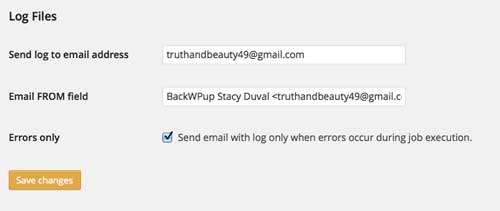
The last thing you need to fill out on this first “General” tab is the log file. Put in the email and the preferred text for the From field of your log email. I have the email sent only when errors occur, but it does feel good to see the email sent each time a backup is done. You can choose which would make you feel more secure.
Press “Save changes” before you advance to the next tab which is “Schedule.”
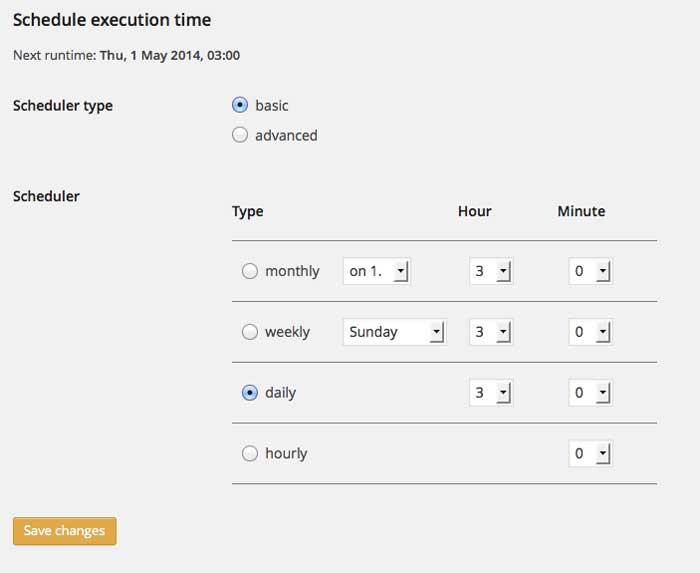
Choose the radio button that says Start Job “with WordPress cron.” WordPress cron is a function that will run your backup at the same time every week.
Choose whether you would like to backup once a month, once a week or daily. I choose daily when I am developing a site and working on it daily. Once I launch a site, I change the backups to weekly. If you don’t add much content to your site, you could even back up monthly. I choose to backup the site at 3 in the morning, because that is when the server is quiet and it won’t put a load on the server to backup your site. Remember to “Save changes” before moving to the next tab.
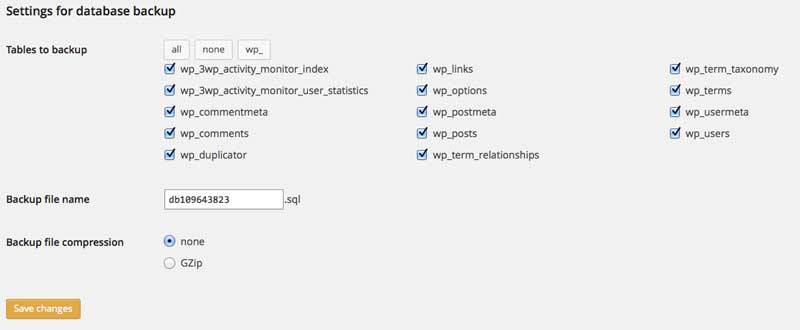
On the database tab check all of your database tables and leave the database name alone. Unless your database is really huge, it’s not necessary to compress the file. Press “Save changes” before going to the next tab.
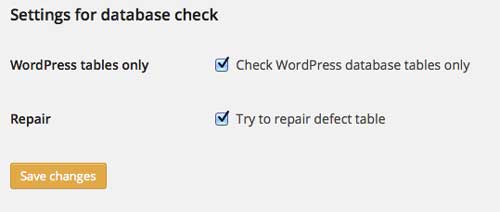
Go to the next tab “Database Check.” Make sure both options are checked.
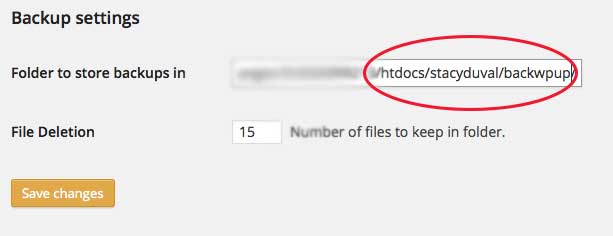
If everything has been really easy so far for you, PLEASE PAY ATTENTION NOW! This is the hardest part. For some reason, BackWPup will try to put the backup into the wp-content folder and you do not want your backups to go into the wp-content folder. I put my backups in a backwpup folder in the root folder of my domain as you can see by the following picture: I also keep 15 backups. You can choose how far back you would like to keep backups by changing this field.
After you have saved the Job for the final time you are ready to press the “Run Now” button. You can use your CPanel or FTP account to see if the database backup was created!

Leave a Reply